Expressive Animator mega update! Animated SVG export, new tools, motion path, and more QoL features
Export animated SVG
Bring your designs to life and share them with the world.
You can export SVG animations by clicking on the Menu button and choosing Export, or by using the Ctrl + E hotkey combo.

Export options
You can set the number of repetitions for the animation, or set it to loop indefinitely.
Loop indefinitely
By toggling this option, your exported animation will loop indefinitely.
Add a max duration, or leave the value at 0 to disable it.
Fixed size
Add width and height to your animated SVG.
Freeze
By default when an animation ends, it will jump back to its original starting point.
Toggling the freeze option, will no longer apply the default effect and will freeze the animation at the last active duration.
Animated SVG example

New tools
Pen tool
Drawing got easier in Expressive Animator, and by using the Pen tool you will be able to draw any vector shape and adjust it on the go. It’s fast and easy to use, featuring a preview when hovering over the node that closes the path.
Node tool
The Node tool is the perfect tool for moving, adding, or removing nodes. You can also curve straight lines and smooth out corners by adjusting their node handles.
Gradient tool
In the previous version, 4 types of gradients were added, linear, radial, radial with focal point, and sweep, aka conical. Now you can manipulate them directly on the elements by using the Gradient tool.
There are two ways to edit a gradient, relative and absolute.
The “relative” mode sets the gradient to multiple elements relative to their bounding box.
The “absolute” mode sets the gradient to multiple elements as if it were just one gradient.
Eyedropper tool
The Eyedropper tool allows you to pick the fill and stroke styles from an element or their style individually, based on which one is active. You can also transfer styles from a selected active element to a target element.
Advanced path operations
Besides the classic boolean operations, Unite, Subtract Front, Subtract Back, Intersect, Exclude, we added 4 more advanced path operations, Merge, Divide, Split and Outline.
Boolean operations
Advanced path operations
Merge
Combines all path contours.
Divide
Cuts paths into connected pieces.
Split
Is the inverse of Merge, and it creates a path for every contour. This operation works really well after using Divide, in order to disconnect the pieces.
Outline
Use the stroked contour as path.
Add animators
Adding animators is really easy, and you have 2 ways to do it.
Automatically
By using the record button, animators will be automatically added to the selected elements when you make changes to them.
Manually
By clicking the Add Animator button, a list of possible animators for the selected elements will appear, choose an animator and it will be added in the timeline at the current time where the Playhead is.
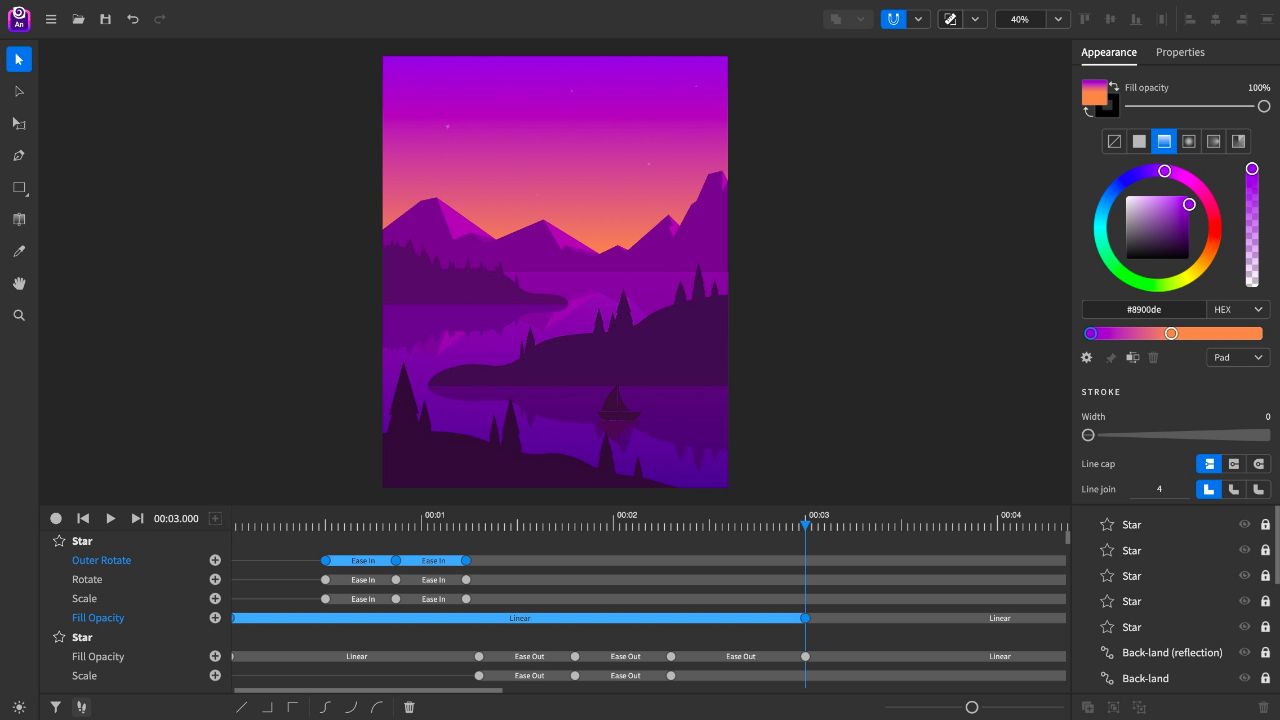
Keyframes and easing functions
Now you can copy/paste, cut, and duplicate keyframes, as well as reversing them.
We added a few predefined easing functions like Linear, Ease-In, Ease-Out, Ease-In-Out, Step-Start, and Step-End.
Custom easing functions are coming in the next update!
Motion path
Animate elements to move along a path that can be modified similarly to a regular path, meaning that you can make straight lines, curves and add points on the path without affecting its shape.
Elements by default don’t automatically rotate, but you have the option to set them to auto-rotate and auto-rotate in reverse if needed.
Context menu, hotkeys, UI improvements and more
Context menu & hotkeys
Right click to open the context menu, or use hotkey combos to speed up your workflow.
Create & Open projects
Now when you open the app, a dialogue box for creating and opening projects will appear.
To create a new project, you just need to name it, set its size and the animation duration.
We included a few popular predefined document sizes, to quickly get you started.
Creating a new project can be done from the Menu button as well, or by using the hotkey combo Ctrl/Cmd + N.
Same thing for opening an existing project, either you use the Menu button and choose Open, either use the hotkey combo Ctrl/Cmd + O.

Snapping options
In this version, the snapping feature was improved and a few useful options were added.
Now you can snap to points and pixels, and you can choose when the snapping is happening, with the option “If in viewport”, allowing the snapping to happen only if the elements or nodes are visible in the viewport.
Shape tools improvements
Change a shape’s specific properties by using the arrow keys, while the shape is being created.
To change the border radius of a rectangle, use the Up and Down arrow keys.
Add or remove sides from a polygon by using the Left and Right arrow keys, and change its roundness by using the Up and Down arrow keys.
The Star tool uses the same key combo for its sides and roundness as the Polygon tool, but you have the option to change its inner roundness by pressing Ctrl/Cmd + LeftArrow/RightArrow.
After you let go of the mouse button, you can still make changes to the shape by heading to Properties tab.
Light & Dark theme
Dark theme is set by default, but if you’re a fan of clean, bright themes, now you have the option to enable the Light theme.
Expressive Animator remembers your preferences, so you don’t need to switch between themes everytime you open the app.
What’s next
More awesome features like custom easings, bitmap image support, and clipping path.